

Preparing for DIY LiFePO4 Battery Project
DIY LiFePO4 (Lithium Iron Phosphate) battery project requires careful planning and gathering of the necessary materials and tools. Here’s a comprehensive list to help you get started:
- Essential Components
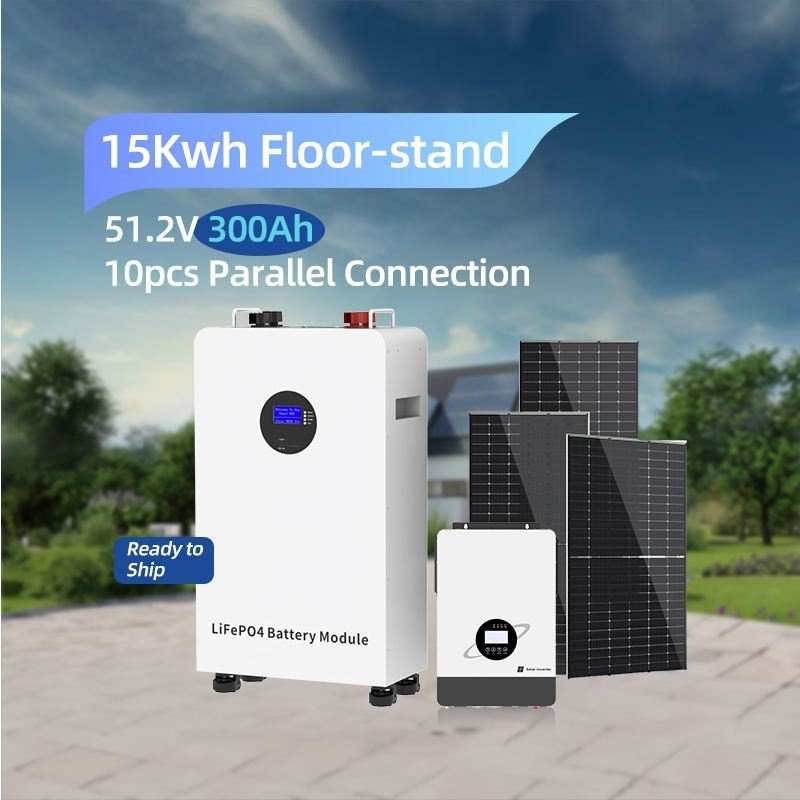
LiFePO4 Cells: Choose high-quality cells with the appropriate capacity (e.g., 100Ah, 200Ah) and voltage (3.2V per cell). Common brands include CATL, EVE, CALB, etc.

Battery Management System (BMS): A BMS is critical for protecting the battery from overcharging, over-discharging, and balancing the cells. Ensure the BMS matches your battery’s voltage and current requirements.

Busbars or Nickel Strips: For connecting the cells in series or parallel. Ensure they can handle the expected current.

Insulation Materials: Use fish paper, Kapton tape, or other insulating materials to prevent short circuits between cells.

Battery Enclosure: A sturdy case or box to house the cells and BMS, ensuring proper ventilation and protection.


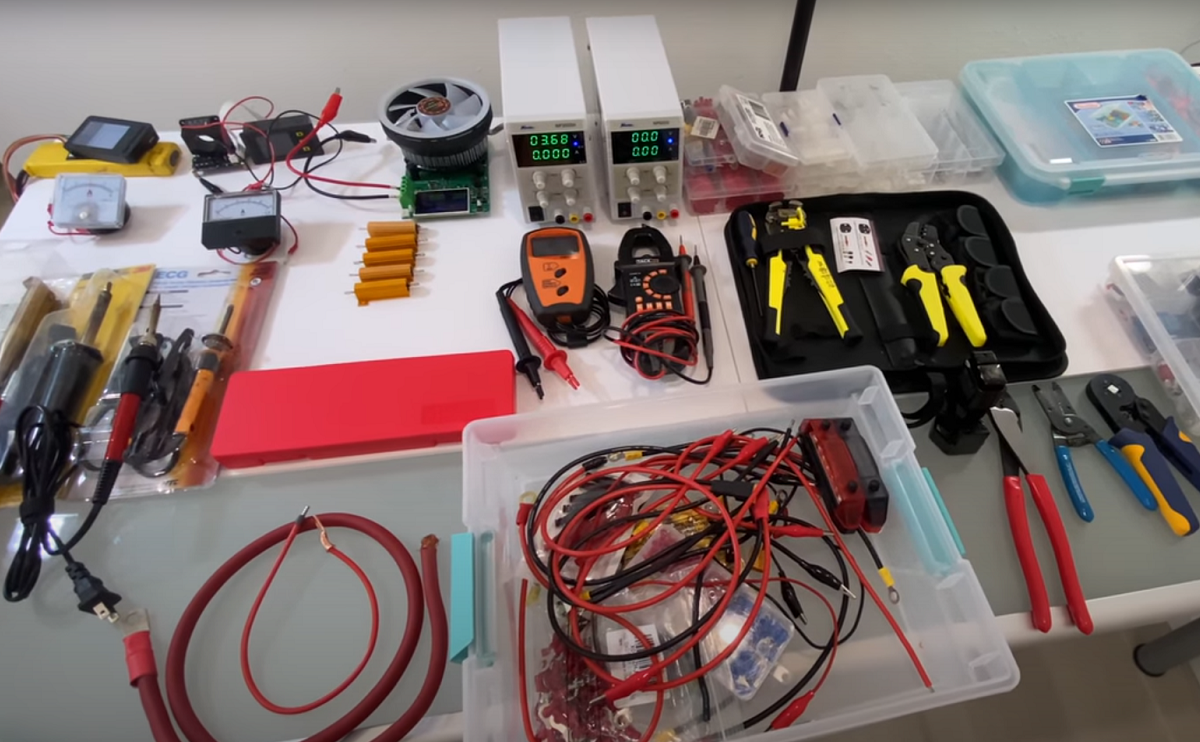
- Tools
Spot Welder: For connecting nickel strips to the cells (if not using pre-welded cells).
Multimeter: To measure voltage, current, and resistance.
Screwdrivers and Wrenches: For assembling the battery pack and securing connections.
Heat Gun or Soldering Iron: For shrink-wrapping or soldering connections (if not spot welding).
Wire Cutters and Strippers: For preparing wiring.
Insulated Gloves and Safety Glasses: For personal safety during assembly.
- Wiring and Connectors
High-Quality Wires: Use wires with the appropriate gauge for the current your battery will handle.
Terminal Connectors: Ring terminals, spade connectors, or other connectors for secure connections.
Fuses and Circuit Breakers: To protect the battery and connected devices from overcurrent.
Shrink Tubing: For insulating wires and connections.
- Additional Materials
Cell Holders or Frames: To securely hold the cells in place.
Thermal Paste or Pads: For better heat dissipation if needed.
Voltage Display or Monitor: To keep track of the battery’s state of charge.
Charger: A compatible LiFePO4 charger to safely charge the battery.
- Safety Gear
Fire Extinguisher: Lithium batteries can be hazardous if mishandled.
Fireproof Container or Bag: For safe storage during testing.
First Aid Kit: In case of accidents.
- Knowledge and Planning
Understand LiFePO4 Chemistry: Learn about the specific characteristics of LiFePO4 batteries, including their charging/discharging profiles and safety considerations.
Design the Battery Pack: Decide on the configuration (e.g., 12V, 24V, or 48V) and calculate the number of cells needed (e.g., 4 cells for 12V).
Follow Safety Guidelines: Avoid short circuits, overcharging, and physical damage to the cells.
- Testing Equipment
Load Tester: To verify the battery’s performance under load.
Capacity Tester: To ensure the cells meet their rated capacity.
- Optional Accessories
Bluetooth BMS: For monitoring the battery via a smartphone app.
Inverter: If using the battery for off-grid or backup power systems.
Battery Monitor: For tracking energy usage and state of charge.
Tips for Success
Start with a small project if you’re new to DIY batteries.
Double-check all connections and ensure proper insulation.
Test the battery pack thoroughly before putting it into regular use.
Follow local regulations and safety standards for battery assembly.
By gathering these materials and tools and following best practices, you can build a safe and reliable DIY LiFePO4 battery pack.
 Ailibat